
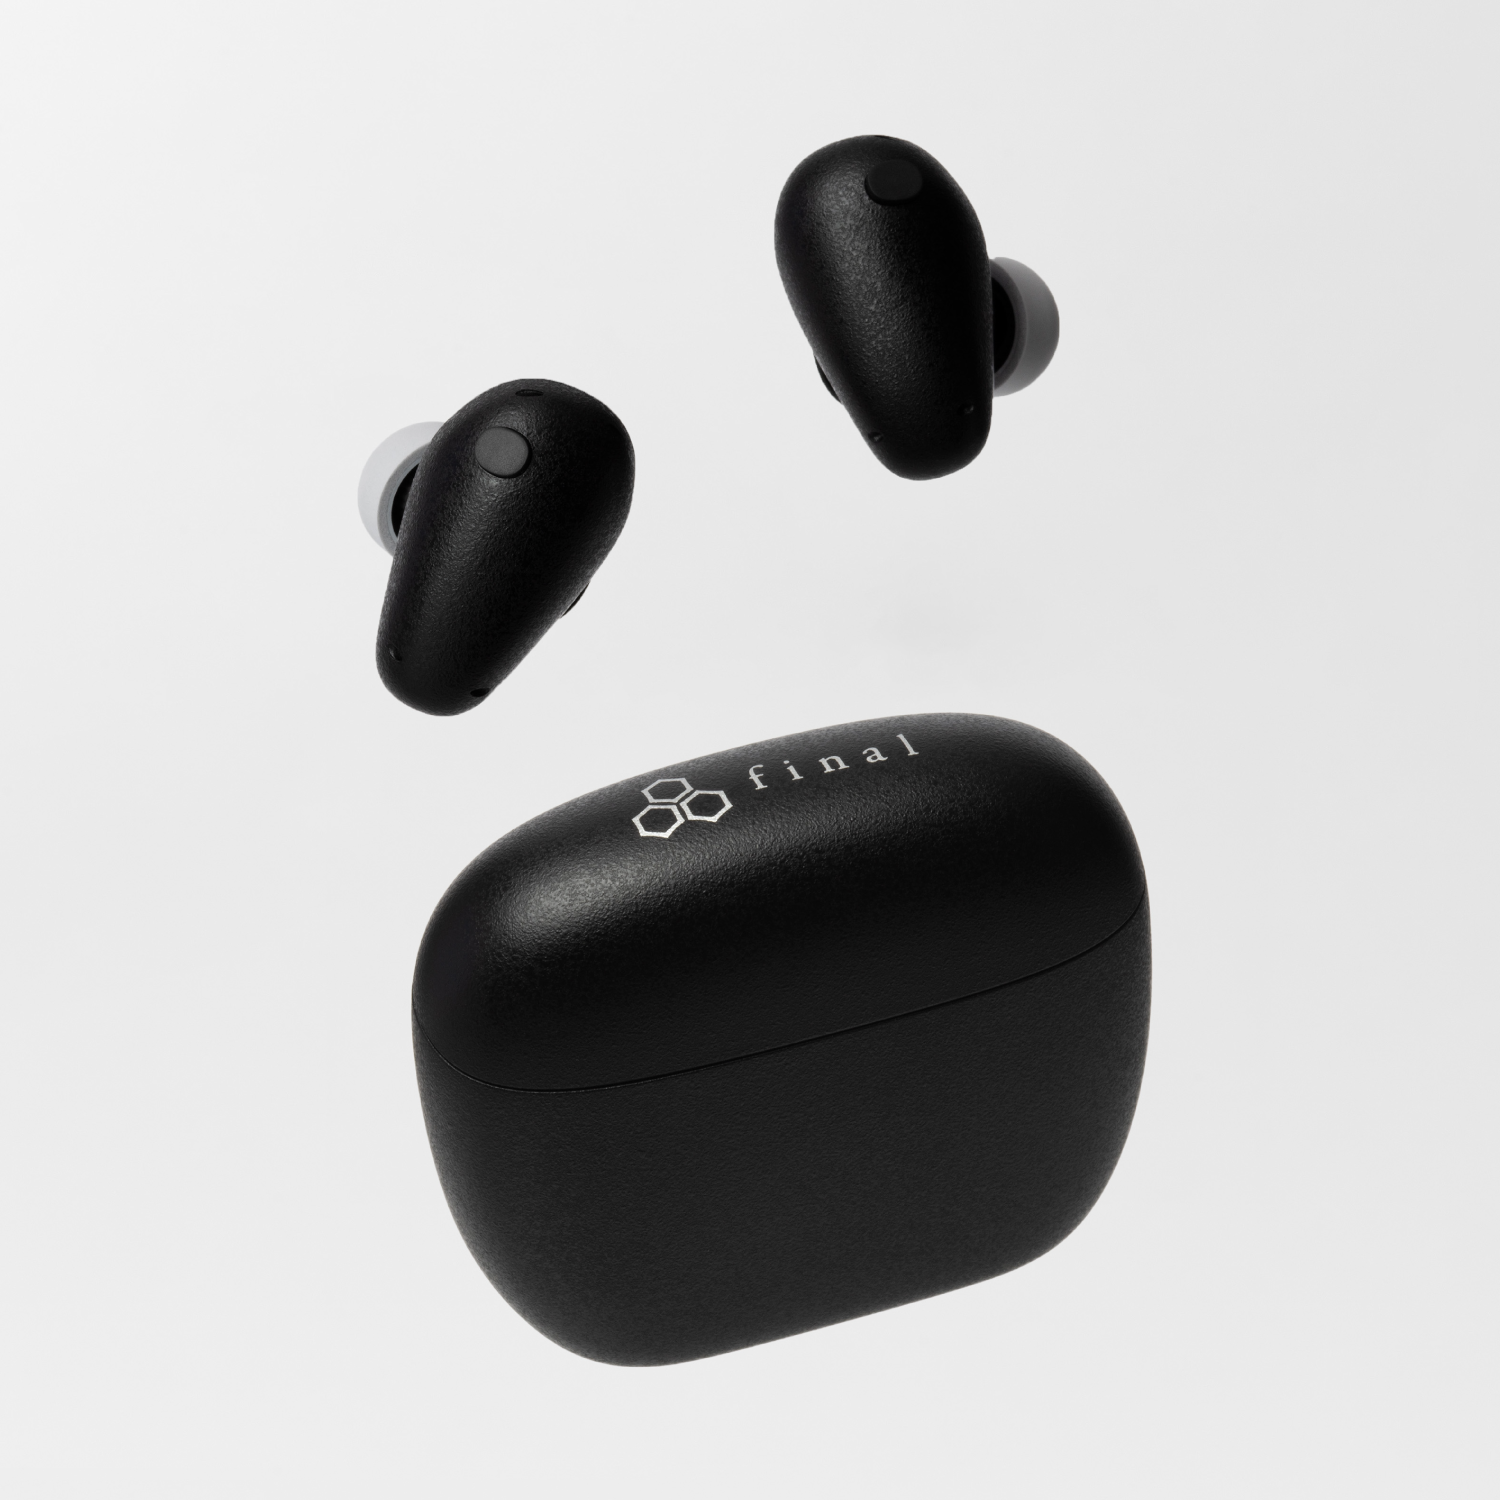
ZE300 Manual
・Earphones (main units)
・Charging case
・Eartips (SS / S / M)
・Quick manual
・“Safety Instructions / Warranty Terms” booklet

(Case)
A: LED indicator
B: USB port
C: Pairing button
(Earphones)
D: LED indicator
E: Touch sensor

How to use
Charging the charging case:
Please charge the charging case according to the recommended USB charging conditions below. While charging, the LED indicator on the outside of the charging case will light up according to the battery level of the charging case, as shown in the table below.
※A charging cable is not included. Please use a commercially available USB cable.
[Recommended USB charging conditions]
USB charger: A commercially available USB charger capable of supplying an output current of 0.5A (500mA) or higher
USB cable: USB Type-C cable (USB-compliant)
| Battery Level | LED Indicator |
| 0〜10% | Orange LED blinks |
| 11%〜99% | White LED blinks |
| 100% | White LED lights up |
Charging the Earphones:
When you place the earphones into the charging case and close the lid, the earphones will power off and charging will begin. For about 2 seconds immediately after closing the lid, the LED indicator on the outside of the charging case will light up or flash according to the battery level of the charging case, as shown in the table above.

After charging, opening the lid of the charging case will automatically turn on the earphones. For about 2 seconds immediately after opening the lid, the LED indicator on the outside of the charging case will light up according to the battery level of the charging case, as shown in the table below.
※If the LED indicator on the charging case does not light up when the lid is opened, the battery level of the charging case is at 0%, and therefore the earphones will not turn on automatically. In this case, please charge the charging case immediately or turn on the earphones manually.
※If the earphones are powered off, press and hold the touch sensor for about 3 seconds. The earphone’s LED indicator will light up white for about 1 second, or a power-on voice guidance will play, indicating that the earphones have turned on (this operation is required for each earphone).
| Battery Level | LED Indicator |
| Less than 1% | Orange LED blinks 5 times |
| 1%〜10% | Orange LED lights up |
| 11%~100% | White LED lights up |
※If the LED indicator on the charging case blinks orange 5 times, you can still turn the earphones ON/OFF by opening and closing the lid, but the earphones will not be charged. Please charge the charging case as soon as possible.
When the charging case has sufficient battery level, placing the earphones into the charging case and closing the lid will turn the earphones off and begin charging. For approximately 2 seconds immediately after closing the lid, the LED indicator on the outside of the charging case will light up or blink according to the battery level, as shown in the table above.
※1 If the orange LED indicator blinks rapidly immediately after closing the lid, the charging case battery is very low, and the earphones will not be charged.
※ If the LED indicator on the charging case does not light up even when the earphones are placed inside, the charging case battery level has reached 0%, so please charge the charging case immediately. In this state, even if the earphones are placed inside the case, their power will not turn off automatically. Therefore, either charge the charging case or turn off the earphones manually.
To manually turn off the earphones, press and hold the touch sensor on either earphone for about 8 seconds. The LED indicator on the earphone will light up white for about one second, or a power-off voice guidance will play, and the power of both earphones will turn off.
When the charging case has sufficient battery level, placing the earphones into the charging case and closing the lid will turn the earphones off and begin charging※1. For approximately 2 seconds immediately after closing the lid, the LED indicator on the charging case will light up or blink according to the battery level, as shown in the table above.
※1 If the orange LED indicator blinks 5 times immediately after the lid is closed, the battery level of the charging case is very low, and the earphones will not be charged. Please charge the charging case as soon as possible.
※ If the LED indicator on the charging case does not light up even after placing the earphones inside, the charging case battery level has reached 0%. Please charge the charging case immediately. In this state, even if the earphones are placed inside the charging case, their power will not turn off automatically. Therefore, either charge the charging case promptly or turn off the earphones manually.
To manually turn off the earphones, press and hold the touch sensor on either earphone for about 8 seconds. The earphone’s LED indicator will light up white for about 1 second or a power-off voice guidance will play, and both earphones will turn off.
When connecting your earphones to a smartphone or other device for the first time, pairing is required.
The next time you turn the earphones ON, they will automatically reconnect to the device that was last connected.
When using the earphones for the first time:
1. When you open the lid of the charging case, the earphones will automatically power ON and enter pairing mode.
At this time, the LED indicator on the earphones will blink.
2. Turn on the Bluetooth function on your smartphone or other device, and when “final_ZE300” appears on the screen, select it.
When the display on the device shows “final_ZE300 Connected”※1, pairing is complete.
Re-pairing or pairing with an additional device:
1. With the charging case lid open and the earphones stored inside the case, press the pairing button on the charging case twice.
This will activate pairing mode. The LED indicators on the earphones will blink at this time.
2. Turn on the Bluetooth function on the smartphone or device you wish to connect, and perform the pairing procedure.
※1 The display may vary depending on the device used.

| Music | Play | Tap the right side once |
| Pause | Tap the right side onceI32 | |
| Volume up | Tap the right side twice | |
| Volume down | Tap the left side twice | |
| Next track | Tap the right side three times | |
| Restart track / Previous track ※1 | Tap the left side three times | |
| Calls | Answer call | When receiving a call, tap the left/right side once |
| End call | During a call, tap the left/right side twice | |
| Reject call | When receiving a call, tap the left/right side three times | |
| Siri / Google Assistant | Activate ※2 | Tap the left/right side four times |
| Switch ANC / Ambient modes | Tap the left side once | |
| Turn Noise Cancelling OFF ※3 | Press and hold the left/right side for about 3 seconds, then release when you hear a tone | |
| Touch control ON/OFFON/OFF | Tap the left/right side five times |
※1 : If operated immediately after a track starts, it will go to the previous track; if operated during the track, it will return to the beginning of the current track. To return to the previous track while in the middle of a track, operate twice consecutively.
※2 : Depending on the connected device, this function may not work. ※3 : When Noise Control is OFF, pressing and holding the right or left side, or tapping the left side once, will turn Noise Control ON and switch to Noise Cancelling mode.
Three modes are available for the Noise Control function:
■ Noise Control ON
Noise Cancelling: Reduces surrounding noise, making playback easier to hear.
Ambient: Allows surrounding sounds to be heard while maintaining the same music playback volume.
■ Noise Control OFF : Both modes above are disabled.
※ A voice guidance saying “Noise Cancelling OFF” will be played.
※ Noise Cancelling mode is enabled by default at the time of shipment.
If you tap either earphone five times, a voice guidance saying “Touch Control OFF” will be played, and touch controls will be disabled.
Touch controls can be enabled again by restarting the earphones after placing them in the charging case, or by tapping either earphone five times to hear the “Touch Control ON” voice guidance.
While Touch Control is OFF, only touch operations are disabled; LED indicators and voice guidance still function normally.
If pairing does not work properly or an unexpected error occurs causing the earphones to malfunction, please reset the earphones using the steps below. After the reset is complete, try pairing again.
1. Place both earphones into the charging case with sufficient battery remaining, leave the lid open, and press and hold the pairing button on the charging case for about 10 seconds.
2. After a short time, the earphones will automatically enter pairing mode with your smartphone or other device, and the LED indicator on one earphone will start flashing. Reset is now complete.
3. Once the reset is complete, the earphones return to factory settings and all pairing information stored on the earphones will be deleted. Therefore, delete the pairing information for this product from your smartphone or other device before attempting to pair again.
※ After resetting, the volume will return to factory default and Noise Cancelling mode will be enabled again.

If you feel that the bass is weak or high frequencies sound harsh, the ear tips may not be fitted properly. To enjoy the intended sound quality of the earphones, it is important to attach the ear tips correctly and ensure that your ear canal is properly sealed. Please try the following methods to achieve the correct fit:
・If you feel discomfort when wearing them, try the SS or M sizes as well.
・Since the size of the ear canal can differ between the left and right ears, try using different ear tip sizes for each side.
Troubleshooting: When You Think, “Is It Broken?”
・Cause1:(Immediately after purchasing) Battery level is low
For safety of transportation from overseas, laws and regulations do not allow the internal battery to be fully charged at the time of shipping. For that reason, voltage may fall below the level required for operation at the time the customer opens the package. Please refer to “Charging” above.
・Cause2:Earbud’ s battery is depleted
Please return the earbuds into the charging case and close the case to charge them. (In case the charging case power has run out, please charge the charging case first.) Please refer to “Charging” above regarding the method for charging.
・Cause3:An error has occurred due to improper operation
In some cases, performing a reset operation may fix the problem. Please refer to “Performing Factory Reset” above.
・Cause4:Charging case battery is depleted
If opening and closing the charging case lid does not activate the LED indicator, it means that the charging case battery is completely depleted. In this state, opening the lid will not automatically turn on the earphones, so please charge the earphones. For detailed charging instructions, refer to the “Charging” section above.
・Cause5:The insulation sticker stays intact
Please peel off the insulation stickers attached to the metal contact areas of the left and right earbuds.
・Cause1:Charging case battery is depleted
If opening and closing the lid of the charging case does not cause the LED indicator on the case to respond, this indicates that the battery of the charging case is completely depleted. In this state, even if you place the earbuds in the charging case and close the lid, the earbuds will not turn off automatically. Please charge the earbuds. For details on how to charge, refer to the section “Charging” above.
・Cause2:(When the earbuds do not turn off even when placed in the charging case) You are using eartips other than the supplied ones.
Normally, when the earbuds are placed in the charging case with sufficient battery and the lid is closed, the earbuds automatically turn OFF and begin charging. However, if you are using eartips other than the included ones, they may interfere with the charging case, preventing proper charging and causing the earbuds not to turn OFF. Please check whether the earbuds operate normally with the supplied eartips.
・Cause1:Metal contacts on earbud are not touching the pins on the charging case
Please ensure that the insulation stickers attached to the metal contacts are peeled off, and that the metal contacts are touching the pins in the charging case.
・Cause2:Charging case battery is depleted
Normally, when the earbuds are placed in the charging case with sufficient battery and the lid is closed, the earbuds automatically turn OFF and begin charging. If charging does not start, the charging case itself may not have enough remaining battery. Please charge the charging case and try again. For details on how to charge, refer to the “Charging” section above.
・Cause3:The lid of the charging case is not closed
If the lid of the charging case is not fully closed while the earphones are stored inside, charging will not start. Please ensure that the lid of the charging case is properly closed.
・Cause4:Using eartips other than the supplied ones.
Normally, when the earbuds are placed in the charging case with sufficient battery and the lid is closed, the earbuds automatically turn OFF and begin charging. However, if you are using eartips other than the included ones, they may interfere with the charging case, preventing proper charging and causing the earbuds not to turn OFF. Please check whether the earbuds operate normally with the supplied eartips.
・Cause1:Earbuds are not in the pairing mode
In some cases, performing a reset operation may fix the problem. Please refer to “Performing Factory Reset” above.
・Cause2:( If pairing has been performed once ) Connected to a previously connected device
Please try performing the pairing operation again after having deleted the pairing information from the previously paired device.
Cause:The output of the USB adapter being used for charging is low
When using a USB port on a PC or similar device, the output may be low, resulting in longer charging times than the rated value. Therefore, when charging this product, please use a USB adopter capable of supplying 5V/500mA or more.
Cause:Unstable connection caused by interference from external factor
Bluetooth communicates using the 2.4GHz band. This band is used by other wireless standards such as Wi-Fi, etc., and so there is a possibility of receiving interference. Moreover, this 2.4GHz band does not penetrate liquids. There is impact from humidity and rain, and the human body also contains liquid, so there are individual differences in connectivity. Furthermore,it depends on the specifications of smartphones and other devices. For that reason, switching OFF unused Wi-Fi / Bluetooth settings on surrounding devices, etc. is a countermeasure. While outside, there is a possibility that moving a smartphone from inside a bag to a breast pocket, etc. or otherwise reducing the distance between devices may improve the connection status.
・Cause1:The left/right earbud pairing has been released
In some cases, performing a reset operation may fix the problem. Please refer to “Performing Factory Reset” above.
・Cause2:The battery of one side of the earbuds has depleted
Please return the earbuds into the adequately charged charging case and close the case to charge it. Please refer to “Charging” above regarding the method for charging.
Cause:Based on the design specification, one side is the parent and the other side is the child, so the burden between left and right is different
Under the specification for Bluetooth earphones, communication generally takes place with one side as the parent and the other as the child. As such, the child only communicates with the parent, but the parent communicates with the smartphone or other devices and communicates with the child as well, and so there is a difference in the level of burden borne by the left and right earphone. As a result, a difference in the battery consumption between the left and right may occur.
Cause:The output of the USB adapter being used for charging is low
When using a USB port on a PC or similar device, the output may be low, resulting in longer charging times than the rated value. Therefore, when charging this product, please use a USB charger capable of supplying 0.5A (500mA) or more.
・Cause1:The touch control panel has become soiled or wet
In case the touch control panel has become soiled or wet, the touch control panel may not function properly, and it may not be possible to operate the earbuds. Please wipe the touch control panel section with a soft, dry cloth to remove stains or moisture.
・Cause2:Touch control is turned OFF
When touch control is OFF, tap operations are disabled.To enable touch control, tap either the right or left earbud 5 times to switch it ON. Touch control will also turn ON if you place both earbuds back into the charging case, close the lid, and open it again.
Cause:Ear tips do not fit properly
If the ear tip size does not fit your ears, noise cancelling will not function effectively. Please try different sizes in addition to the pre-installed M size and use the size that best fits you. For more information on ear tips, please refer to the “About the Ear Tips” section above.
原因:Dust filter at the nozzle opening is clogged with build-up
Dirt on the filter can cause a decrease in sound pressure. Before wearing the earbuds, please clean your ears and take care to avoid getting the filter dirty. If dirt does accumulate on the filter, gently clean it by lifting the dirt with a small brush or a cotton bud.
Others
Please carefully remove any debris adhering to the dust filter by gently lifting it off, for example by using the tip of a cotton swab. Be sure to work carefully to prevent debris from falling inside the unit. Also, please use a cotton swab or similar tool to clean the airflow port.

The rechargeable batteries built into the equipment are recyclable. During disposal, please follow the instructions from your local municipal government and do not attempt to disassemble the product.
The warranty for this product is valid for 1 year from the date of purchase. During the warranty period, we will repair the product based on the provisions below. The warranty is only valid in the country in which the product was purchased. Regarding questions pertaining to repairs, please contact the store you purchased the product from or contact us by visiting our “Contact” page.
1. If the product malfunctions within the warranty period under the usage conditions specified in the warnings and cautions of this manual, we will repair it free of charge.
2. In the following cases, repairs to the product will be subject to a fee even during the warranty period:
(1) Original purchase receipt or other documentation showing the date of purchase are failed to be presented.
(2) The product is identified to be modified, disassembled, or repaired by a third party or customer other than our company or our authorized organizations.
(3) The earphones were subjected to a strong impact or were allowed to get wet. Product failure resulting from an excessive use of force on the product.
(4) Failure due to fire, earthquake, wind, flood, lightning, or other acts of God, human error, theft, or virus and malware infection.
(5) Repair of scratches on the surface of the housing or repair of the housing itself
3. We shall not be liable for any incidental or consequential damages for breach of any express or implied warranty or condition on this product. Nor shall recovery of any kind against us be greater than the original purchase price of the product from us or an our authorized dealer
Please contact us by visiting our official “CONTACT” page