
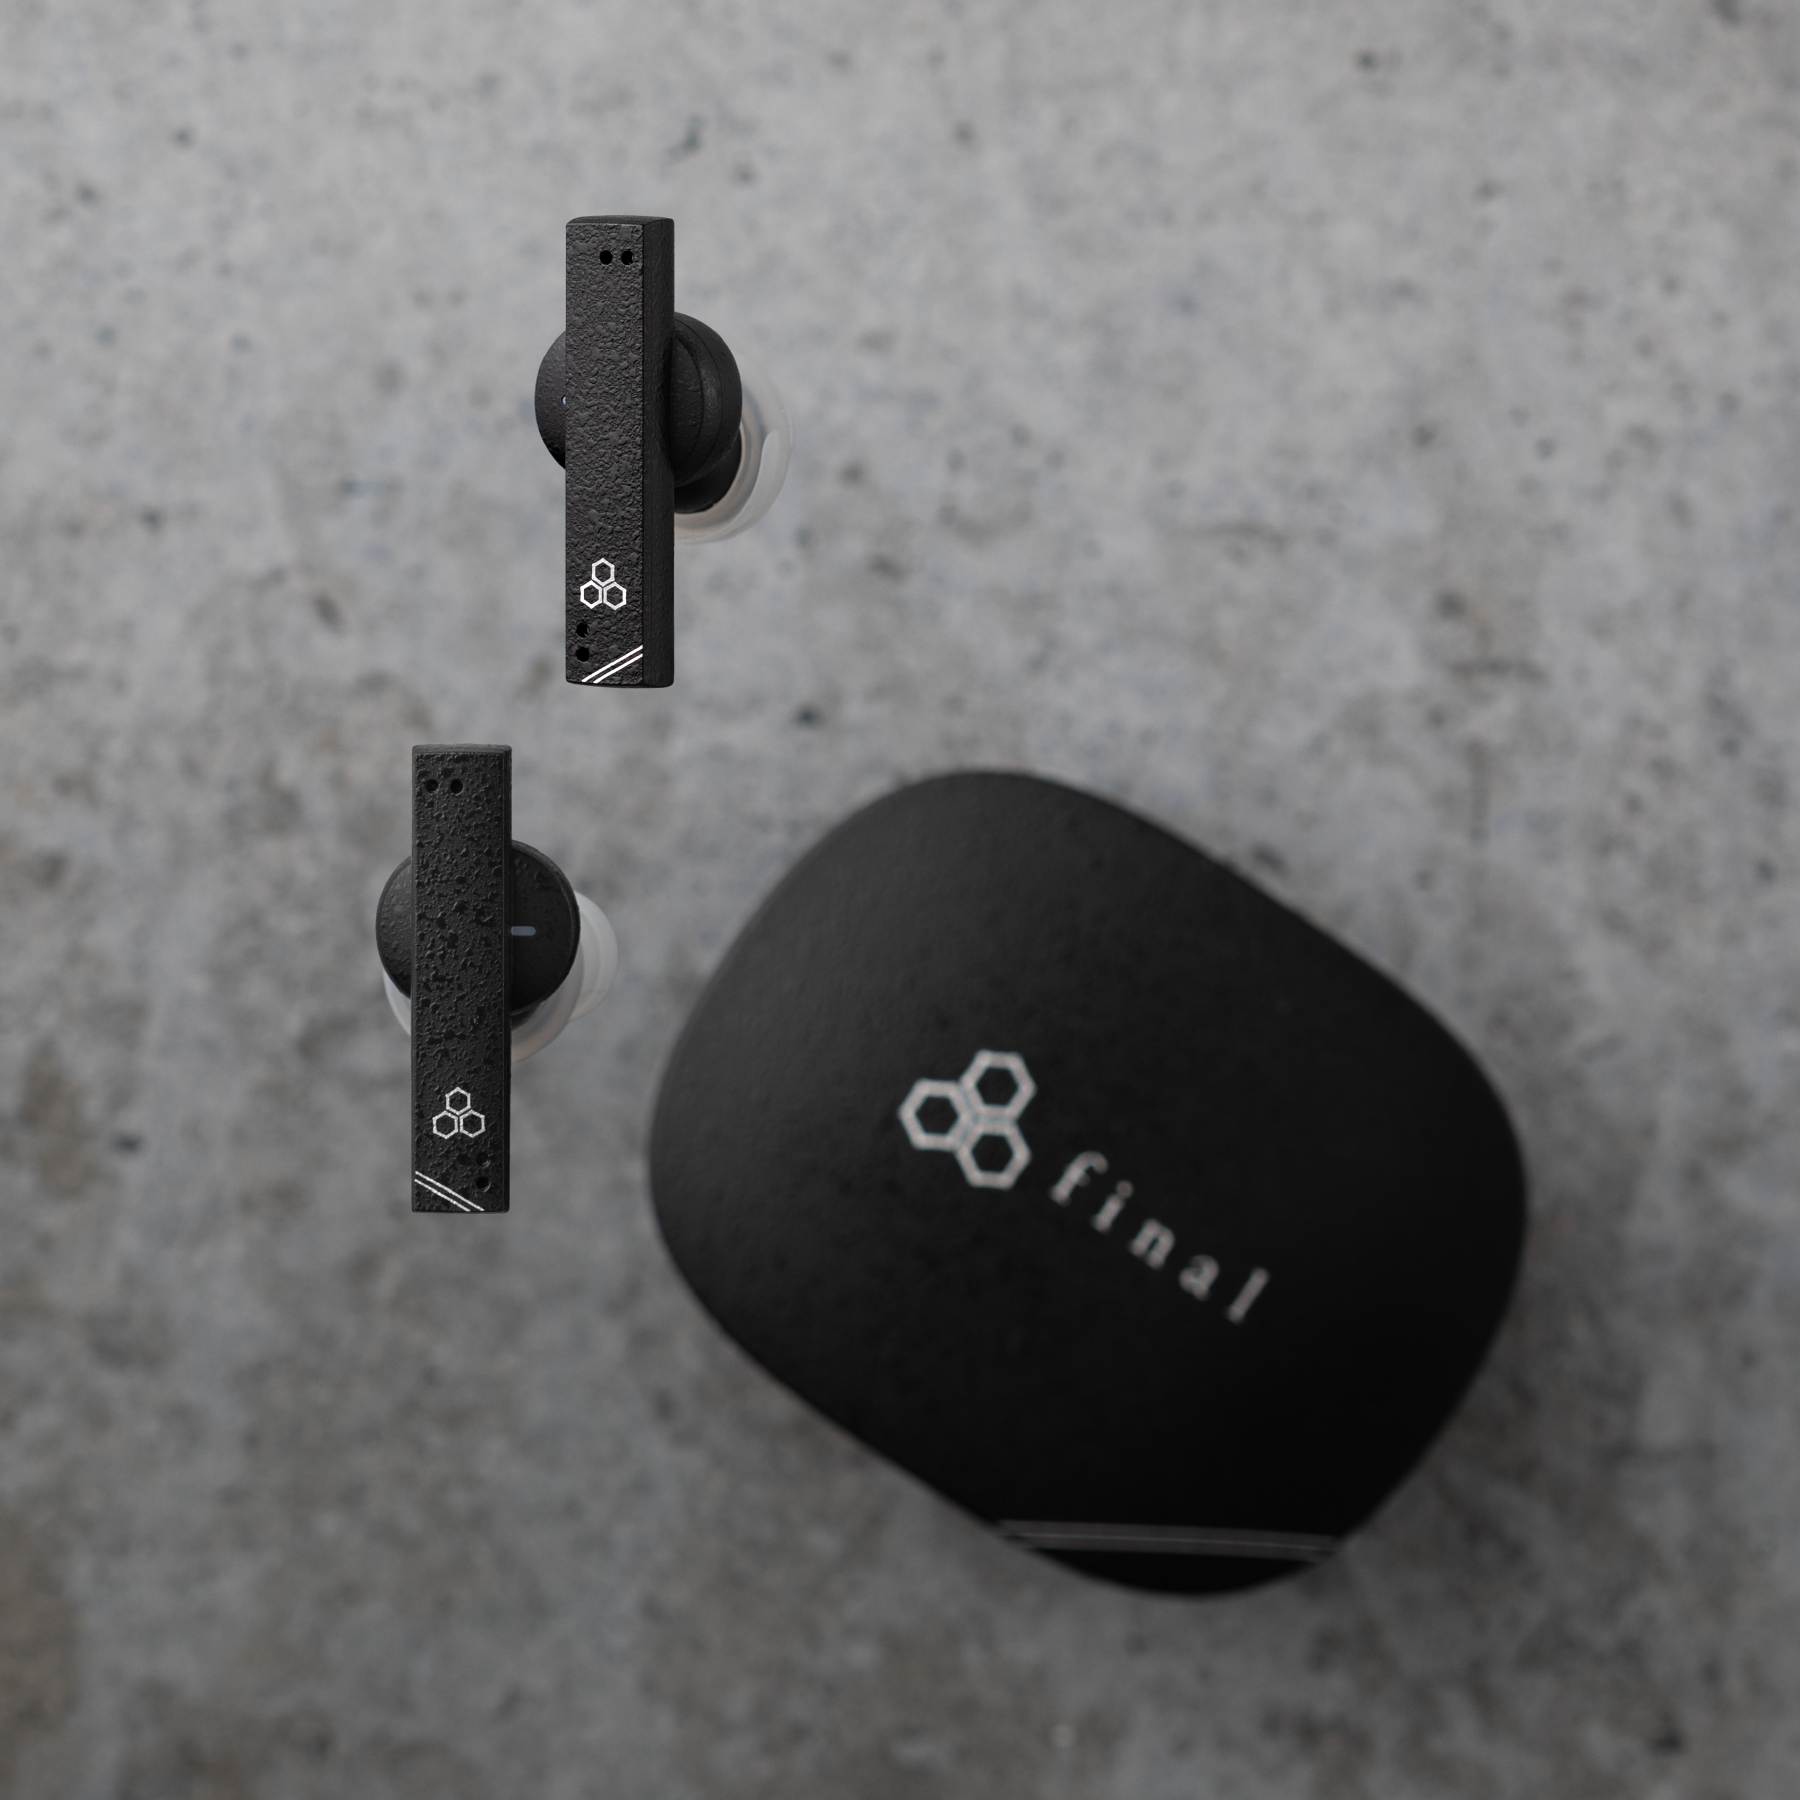
PORTA Manual
・Headphones
・Charging Cable
・Quick Manual
・Safety Instructions / Warranty Terms Booklet

A: USB-C Charging Port
B: LED Indicator
C: Touch Sensor
Note: The touch sensor is located at the three dots (・) shown in the illustration below.

How to Use
The headphones must be activated from their low-power standby mode by charging them before first use. Please refer to the "How to Charge" section below and charge the headphones.
Connect the USB-C connectors of the included dedicated charging cable to the left and right USB charging ports, then plug the USB-A connector into a compatible electronic device or USB charger to begin charging. During charging, the LED indicators will light up as shown in the illustration below based on the headphones' remaining battery level.
| Battery Level | LED Indicator |
| 0〜99% | Orange LED lights up |
| 100% | LED turns off |
Note:
1.The headphones will automatically power off while charging.
2. The left and right headphones charge independently. Please ensure both sides are charged.
About the Dedicated Charging Cable
・Please use the included dedicated cable to charge this product.
・This cable features a current-limiting function. Using it with other devices may result in unstable charging.
・To prevent damage from excessive power input, the power source end is designed with a USB-A connector.
・This cable is designed exclusively for PORTA. Please do not use it with other products.

[Operation is required for both the left and right sides]
While the power is off, touch the touch sensor and a single beep will sound immediately. Continue holding the sensor until the LED indicator lights up white and the "Power ON" voice prompt plays, turning the power on.
Note:
1. Turning on the power requires operating both the left and right sides. You can also operate both sides simultaneously.
2. If the battery level on either side is low, a low battery voice prompt will play from the affected side after the "Power ON" prompt. If this happens, please charge the headphones promptly.
[Operating either the left or right side is sufficient]
While the power is on, touch and hold the touch sensor for about 3 seconds. The LED indicator will light up white for about 3 seconds and the "Power OFF" voice prompt will play, turning off the power for both sides.
Note: If the battery level on either side is low, the LED indicator will light up orange when powering off. If this occurs, please charge both sides.
When connecting the headphones to a device such as a smartphone for the first time, you must pair them. Once paired, the devices will connect automatically the next time you power on the headphones.
When using the headphones for the first time:
1. Follow the instructions in "Turning ON the Power" to turn on both the left and right sides. After both sides are powered on, the "Bluetooth Pairing" voice prompt will play. At this time, the LED indicators will flash white.
2. Turn on the Bluetooth function on your smartphone or other device, and select "final PORTA" when it appears on the pairing screen. Pairing is complete when "final PORTA Connected" appears on your device's screen.
When re-pairing or pairing with a second or subsequent device:
1. Turn off the Bluetooth function on the currently paired smartphone or device, or delete/forget the pairing information.
2. After the disconnection voice prompt plays, the "Bluetooth Pairing" voice prompt will play.
3. Turn on the Bluetooth function on your smartphone or other device, and select "final PORTA" when it appears on the pairing screen. Pairing is complete when "final PORTA Connected" appears on your device's screen.
Note:
1. If no connection is made within 2 minutes, the headphones will automatically power off.
2. The on-screen display may vary depending on your smartphone or device.

If Bluetooth pairing is unsuccessful or the headphones are not working properly, you can reset them by following the steps below. After completing the reset, please try pairing again.
1. While both the left and right sides are powered on, touch and hold both touch sensors simultaneously for about 15 seconds.
2. Release your fingers once the LED indicators begin flashing white rapidly or the "Bluetooth Pairing" voice prompt plays.
The reset is now complete, and the headphones are restored to their factory settings. All pairing information on the headphones has been erased. Please also delete/forget the headphones' pairing information from your smartphone or other devices before attempting to pair again.

Check the L/R markings on the inside of the headphones to identify the left and right sides, put them on, and adjust the position so that the speakers rest over your ears.

| Music | Play | Tap the left/right side once |
| Pause | Tap the left/right side once | |
| Next Track | Tap the right side 3 times | |
| Previous Track | Tap the left side 3 times | |
| Music / Call (Common) | Increase Volume | Tap the right side 2 times |
| Decrease Volume | Tap the left side 2 times | |
| Incoming Call | Answer Call | During an incoming call, tap the left/right side once |
| End Call | During a call, tap the left/right side twice | |
| Reject Call | During an incoming call, tap the left/right side 3 times | |
| Touch Control ON/OFF | Tap the left/right side 5 times | |
Notes:1:
1. Operating immediately after a track starts will skip to the previous track; operating during playback will return to the beginning of the current track. To return to the previous track during playback, perform the operation twice in succession.
2. This function may not work depending on the connected device.

While the headphones are connected to a smartphone or other device via Bluetooth, tap the touch sensor on either the left or right side 5 times. The voice prompt "Touch Control OFF" will play, and the headphone touch controls will be disabled. Turning the power off and back on, or tapping either touch sensor 5 times again, will play the voice prompt "Touch Control ON" and re-enable touch controls.
While Touch Control is OFF, all touch operations are disabled except for the 5-tap operation and the power ON/OFF operation. The LED indicators and voice prompts will continue to function normally.
Troubleshooting: When You Think, “Is It Broken?”
| Headphones do not turn ON | (Immediately after purchase) Battery level is low | For safety during international transport, the built-in battery cannot be fully charged at shipment due to IATA regulations. As a result, the battery level may be below the required operating voltage when the package is opened. Please fully charge the headphones before use. For charging instructions, refer to the section above titled “Charging the Headphones”. |
| The touch sensor was not held long enough | Continue touching and holding the touch sensor until the power turns ON. For details on how to turn on the power, please refer to "Turning ON the Power" above. | |
| Charging | The device cannot be powered ON while charging. Please turn on the device when it is not being charged. | |
| Charging takes a long time | Output of the USB adapter being used is low | When using a USB port on a PC or similar device, the output may be insufficient, causing charging to take longer than expected. Please use a USB adapter capable of 5V / 1A or higher. |
| Headphones do not turn OFF | The touch sensor was not held long enough | Continue touching and holding the touch sensor until the power turns OFF. For details on how to turn off the power, please refer to "Turning OFF the Power" above. |
| Sound is only coming from one side | The power on one side of the headphones is not turned ON | The power must be turned ON for both the left and right headphones individually. Touch and hold the touch sensor on the side that is not powered on to turn the power ON. For details on how to turn on the power, please refer to "Turning ON the Power" above. |
| The pairing between the left and right headphones has disconnected | The issue may be resolved by performing a reset. For details on how to reset the headphones, please refer to "Performing Factory Reset" above. | |
| The battery on one side of the headphones is depleted | Please charge both the left and right headphones. For details on how to charge them, please refer to "How to Charge" above. | |
| Headphones cannot be detected / paired | Headphones are not in pairing mode | Performing a reset may resolve the issue. For details, refer to “Performing Factory Reset ”. |
| Automatically reconnecting to a previously paired device | Turn off the Bluetooth function on the previously paired device, or delete/forget the pairing information, then perform the pairing operation again. | |
| Audio (connection) cuts out during music playback | External interference affecting connection stability | Bluetooth communicates using the 2.4GHz band which might be interefered by other wireless standards such as Wi-Fi, etc. Moreover, the connection is sensitive against liquid where humidity, rain, or even the size of head could cause disruption to the connection. The specifications of the device to be connected could cause variation too. For that reason, reducing the distance between devices or switching OFF unused Wi-Fi/Bluetooth of surrounding devices may improve the connection. |
| The touch sensors are not functioning | There is dirt, water droplets, or other foreign matter on the touch sensor area | If there is dirt or water droplets on the touch sensor area, the touch sensors may not function properly and you may not be able to operate the headphones. Please wipe the touch sensor area with a soft, dry cloth to remove any dirt or water droplets. |
| Touch Control is turned OFF | Tap operations are disabled while Touch Control is OFF. If you want to enable Touch Control, tap either the right or left touch sensor 5 times to switch Touch Control to ON. Turning the power off and back on will also switch Touch Control to ON. | |
| Only one side of the headphones is powered ON | When only one side of the headphones is powered ON, all touch operations except for power ON/OFF are disabled. Please turn ON the power for both the left and right headphones. | |
| The other party has difficulty hearing your voice during calls | The headphones are worn on the wrong sides (left and right reversed) | Wearing the headphones with the left and right reversed will degrade microphone performance. Check the L/R markings on the headphone units and wear them correctly. For details on how to wear them, please refer to "How to Wear the Headphones" above. |
Others
If dirt such as skin oils accumulates on the headband or earpads, gently wipe it off with a soft, dry cloth.
The rechargeable batteries built into the equipment are recyclable. During disposal, please follow the instructions from your local municipal government and do not attempt to disassemble the product.
The warranty for this product is valid for 1 year from the date of purchase. During the warranty period, we will repair the product based on the provisions below. The warranty is only valid in the country in which the product was purchased. Regarding questions pertaining to repairs, please contact the store you purchased the product from or contact us by visiting our “Contact” page.
1. If the product malfunctions within the warranty period under the usage conditions specified in the warnings and cautions of this manual, we will repair it free of charge.
2. In the following cases, repairs to the product will be subject to a fee even during the warranty period:
(1) Original purchase receipt or other documentation showing the date of purchase are failed to be presented.
(2) The product is identified to be modified, disassembled, or repaired by a third party or customer other than our company or our authorized organizations.
(3) The earphones were subjected to a strong impact or were allowed to get wet. Product failure resulting from an excessive use of force on the product.
(4) Failure due to fire, earthquake, wind, flood, lightning, or other acts of God, human error, theft, or virus and malware infection.
(5) Repair of scratches on the surface of the housing or repair of the housing itself
3. We shall not be liable for any incidental or consequential damages for breach of any express or implied warranty or condition on this product. Nor shall recovery of any kind against us be greater than the original purchase price of the product from us or an our authorized dealer
Please contact us by visiting our official “CONTACT” page